
How to Create a Trade Show Floor Plan: Step-by-Step Guide
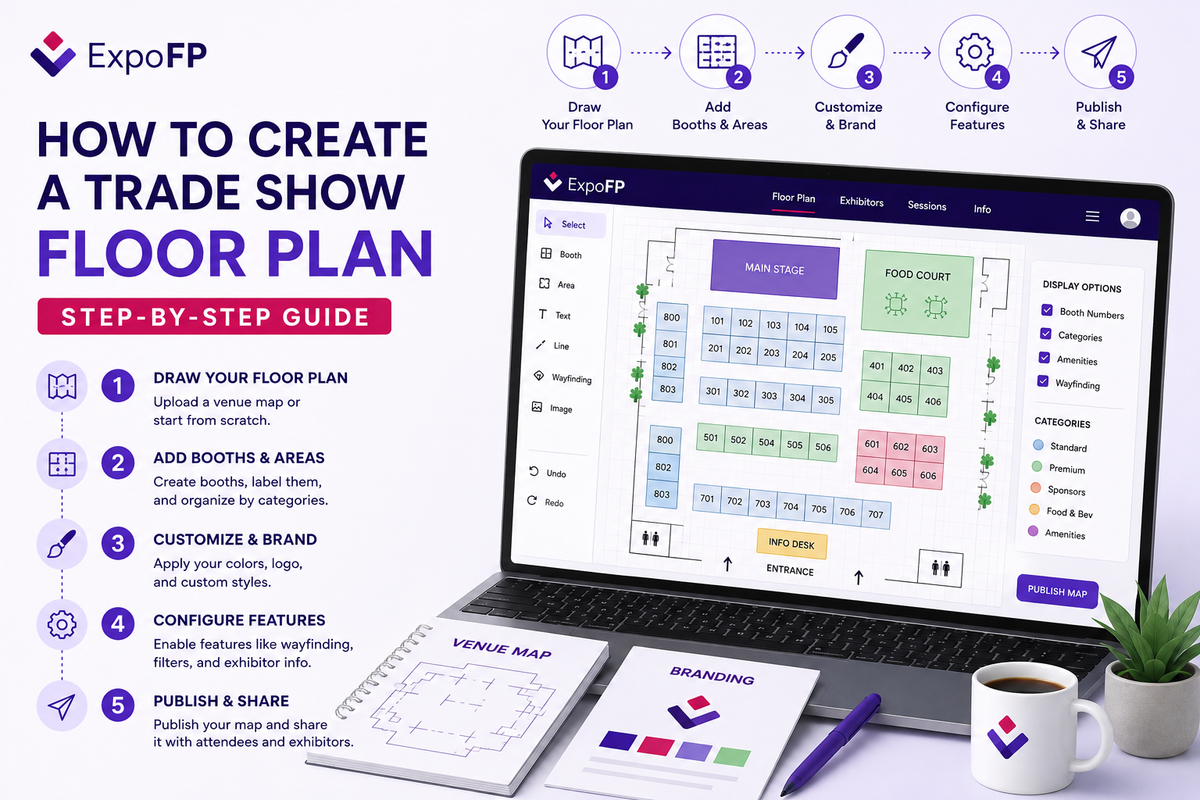
A trade show floor plan is not a drawing. It’s your event’s revenue model, traffic engine and attendee experience — compressed into one map.
This guide walks through the full process of creating one, from venue specs to opening day. It’s based on patterns from 10,000+ floor plans built on ExpoFP for events of every size, from local fairs to Money20/20 and IMEX Frankfurt.
The short version:
- Get the venue’s technical plan and constraints
- Define zones and traffic flow before drawing booths
- Draw the booth grid and number it logically
- Price locations by traffic value
- Publish an interactive version for exhibitors and attendees
- Keep it live — a floor plan changes until doors open
Now the details.
Step 1: Start with the venue, not the booths
Before you place a single booth, collect from your venue:
- The CAD or PDF files with exact dimensions, columns, entrances, loading docks
- Rigging and utility maps — where power, water, internet drops are
- Fire safety regulations — required aisle widths, maximum occupancy, emergency exit clearances (in the US typically governed by NFPA 101 and the local fire marshal; in Europe by each venue’s Technische Richtlinien, e.g. the Messe guidelines in Germany)
- Load-in constraints — freight routes affect where large island booths can physically go
Rule of thumb: everything you don’t ask the venue about in week 1 becomes a redraw in week 10. Columns are the classic ambush — always place them on the plan before selling booths around them.
Step 2: Define zones and flow before drawing a single booth
Sketch the macro layout first:
- Entrances and registration — where people enter and stack up
- Anchors — main stage, F&B, big sponsors — spread them so they pull traffic through the entire hall, not just the front
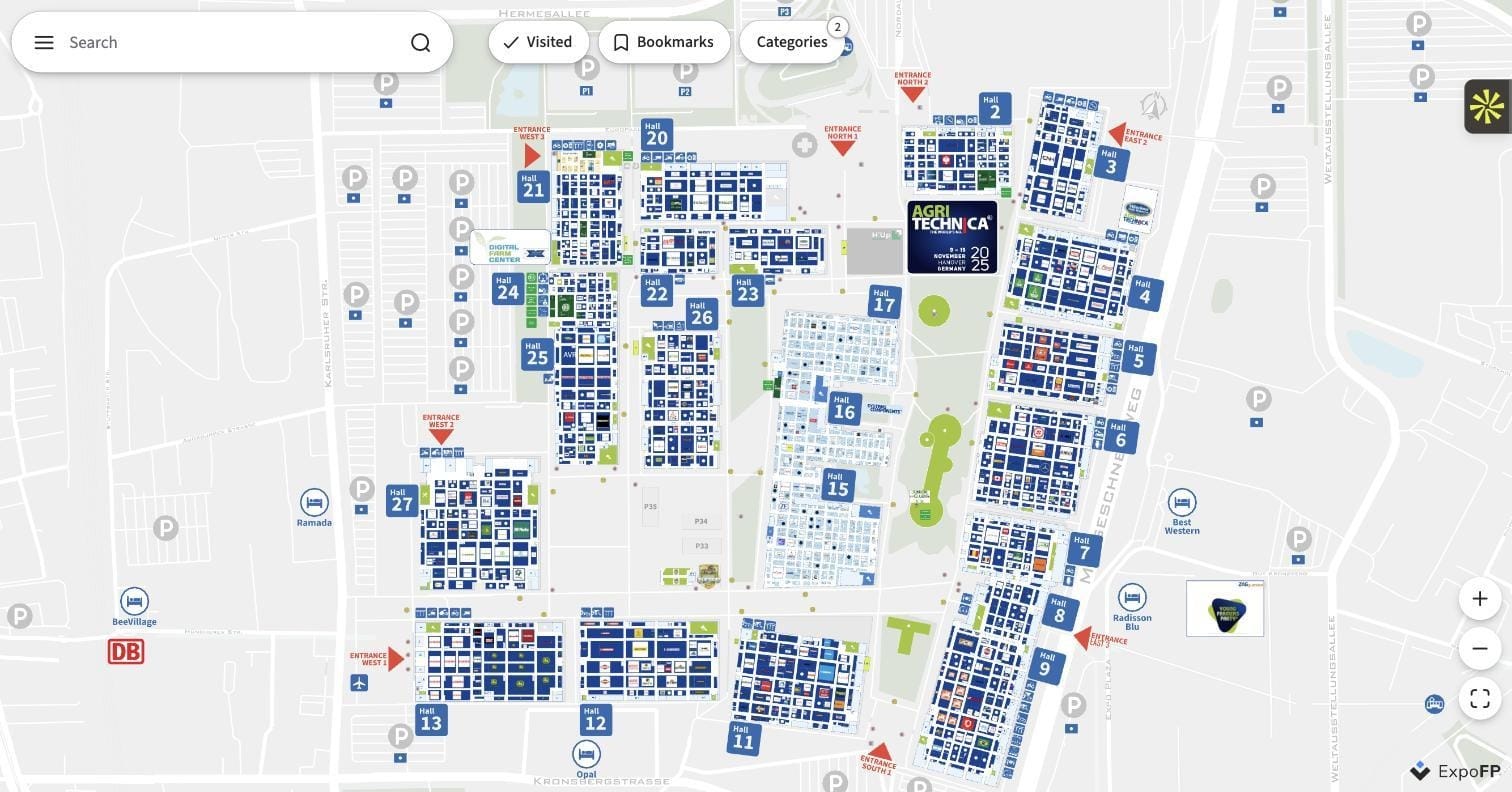
- Category zones if your show has distinct segments (see how mega-shows like Agritechnica zone thousands of exhibitors by product)
- Service areas — storage, first aid, organizer office, press room
Then define the traffic pattern. The base patterns — grid, zoned neighborhoods, island clusters — are covered with real examples in our floor plan examples gallery. Pick one deliberately; don’t let it emerge by accident.
Aisle widths: 3 m (10 ft) is a common minimum; 4–6 m for main arteries at larger shows. Your fire code may demand more — check before selling, because widening an aisle later means deleting sold booths.
Step 3: Draw the booth grid
Now the booths. Standard sizes:
- US: 10×10 ft inline as the base unit; 10×20, 20×20 and up as multiples
- Europe: 3×3 m base unit; 12–18 m² typical small stands; islands from ~36 m²
(Full reference: Working with booths and other POIs.)
Practical rules that save redraws:
- Keep the base unit consistent. Mixed 9 m² and 10 m² units in one row will haunt every merge and split later.
- Shorter rows = more corners. Corners sell at a 10–25% premium; two rows of five booths yield twice the corners of one row of ten.
- Leave flex space. Reserve 5–10% of the floor as unassigned space for late sponsor requests, lounges, or that exhibitor who doubles their booth in the last month.
- Mark booth types. Inline, corner, peninsula, island — they price differently and exhibitors search for them by name.
In ExpoFP’s FP Designer you draw this directly in the browser — drag, drop, merge and resize booths, and changes go live instantly. Or upload the venue’s PDF/CAD file and trace over it.
Step 4: Number the booths so nobody gets lost
Booth numbering seems trivial until 20,000 attendees try to find booth 4172.
The dominant conventions:
- Aisle-based (US standard): the hundreds digit is the aisle — booths 100–199 on aisle 1, 400–499 on aisle 4. Odd numbers one side, even the other, like street addresses.
- Hall-prefixed (European standard): hall letter/number + stand number — “B3.145” means Hall B3, stand 145.
- Zone-prefixed: for outdoor or themed events — “F12” in the Food zone.
Whichever you choose: number in one consistent direction, never recycle numbers after layout changes, and keep gaps in the sequence so added booths don’t break the logic.
Step 5: Price locations by traffic, not by square meters alone
A floor plan is a pricing map. Before opening sales, tier it:
Two honest notes: first, “bad” locations are partly self-fulfilling — if you discount the back of the hall, put the coffee there and it stops being the back of the hall. Second, transparent live availability (exhibitors seeing the real map with real prices) consistently shortens sales cycles versus emailing PDFs back and forth.
Step 6: Publish it interactive — this is where the plan starts working
A static PDF floor plan dies the moment you export it. An interactive plan keeps working:
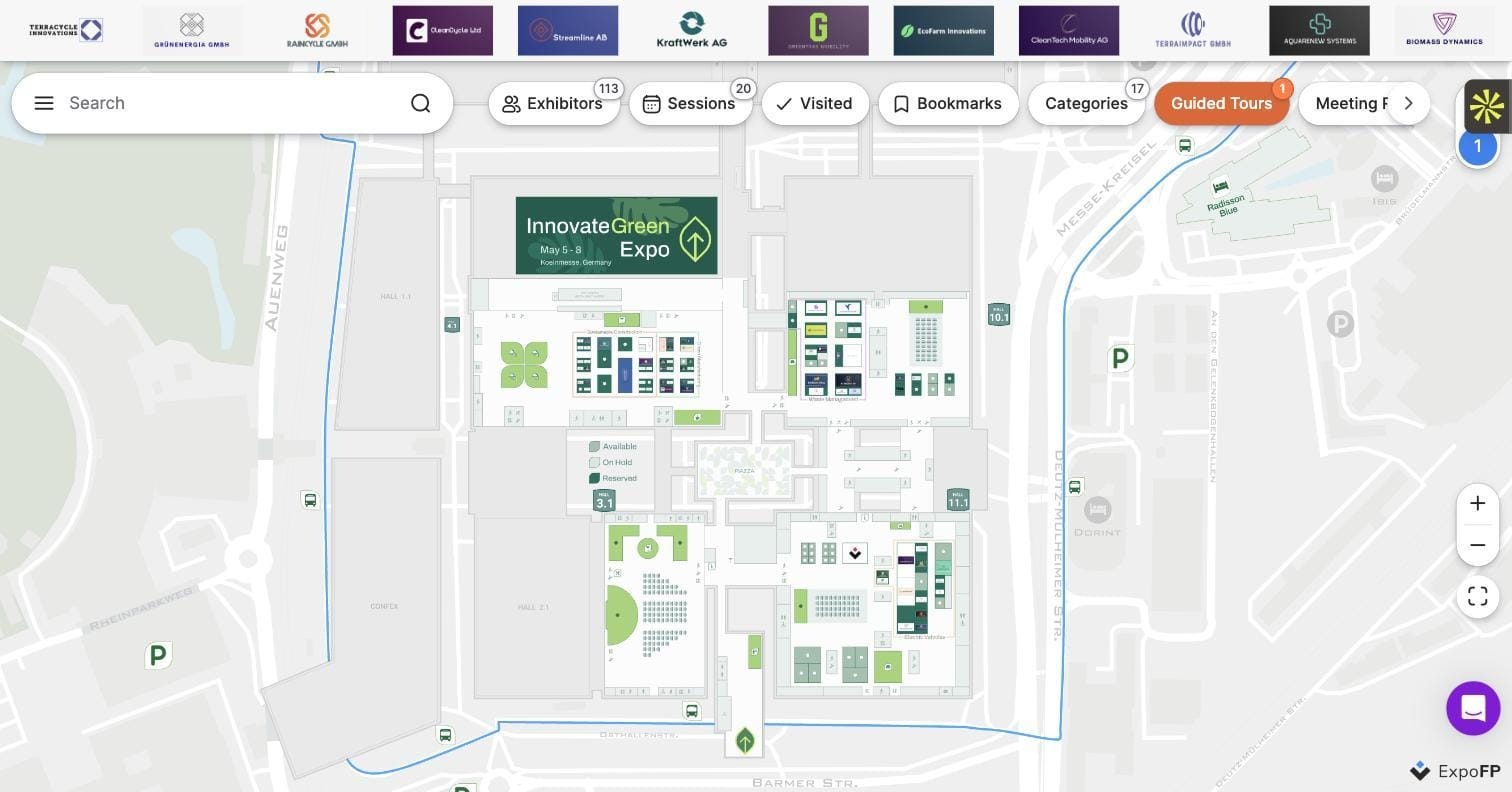
- For exhibitors: they see live availability, pick their spot and can reserve or pay by card right on the map — no spreadsheets, no email ping-pong
- For attendees: search any exhibitor, filter by category, get walking directions on their phone — no app download
- For you: analytics on searches and booth views, instant edits, and a map that’s always current
(New to the concept? Start with What Is an Interactive Floor Plan?)
With ExpoFP the published plan lives at your own URL (yourevent.expofp.com), embeds into your event website, and supports multiple languages for international shows.
Step 7: Keep it alive until doors open — and after
Floor plans change. Exhibitors upgrade, cancel, move; the fire marshal wants an aisle widened; a sponsor buys an island in the last week. Plan for it:
- One source of truth. Every change goes to the interactive map first; contractors and staff work from it, not from emailed versions.
- Exhibitor self-service. Send each exhibitor a personal link to fill in their own profile — logo, description, contacts — so 500 profiles don’t become your job (how the exhibitor portal works).
- Post-show: export the final plan and analytics. Next year’s plan starts from this year’s — ExpoFP lets you copy the map, and optionally the exhibitor list, to the new edition.
Pre-launch checklist
- ☐ Venue CAD/PDF with columns, exits, utilities on the plan
- ☐ Fire safety aisle widths confirmed with venue/marshal
- ☐ Zones and anchors placed; traffic pattern chosen deliberately
- ☐ Consistent booth base unit; corners maximized where demand allows
- ☐ Logical numbering system with room to grow
- ☐ Price tiers assigned by traffic value
- ☐ Interactive plan published and embedded on event site
- ☐ Exhibitor links sent; booth sales open
- ☐ Analytics connected; team trained to edit the live map
Create your floor plan now
You can have a working draft in minutes, not weeks: draw it in FP Designer or upload your venue’s plan and the ExpoFP team will convert it for you. Free to start, no credit card needed.
FAQ
How do I make a floor plan for a trade show? Get the venue’s technical plan, define zones and traffic flow, draw a booth grid on a consistent base unit (10×10 ft or 3×3 m), number booths by aisle or hall, tier prices by location value, and publish an interactive version that exhibitors and attendees can actually use.
What software is used to create trade show floor plans? Historically CAD tools like AutoCAD; today most organizers use dedicated web-based floor plan software that combines drawing, booth sales and attendee wayfinding in one place. ExpoFP is free to start.
How long does it take to create a floor plan? A first interactive draft: minutes to hours in a browser-based designer. The full cycle — venue specs, layout, approvals, pricing — typically runs alongside your sales timeline, with the plan staying editable until the show opens.
What size should trade show booths be? The standard base unit is 10×10 ft in the US and 3×3 m in Europe, combined into larger inline, corner, peninsula and island configurations.